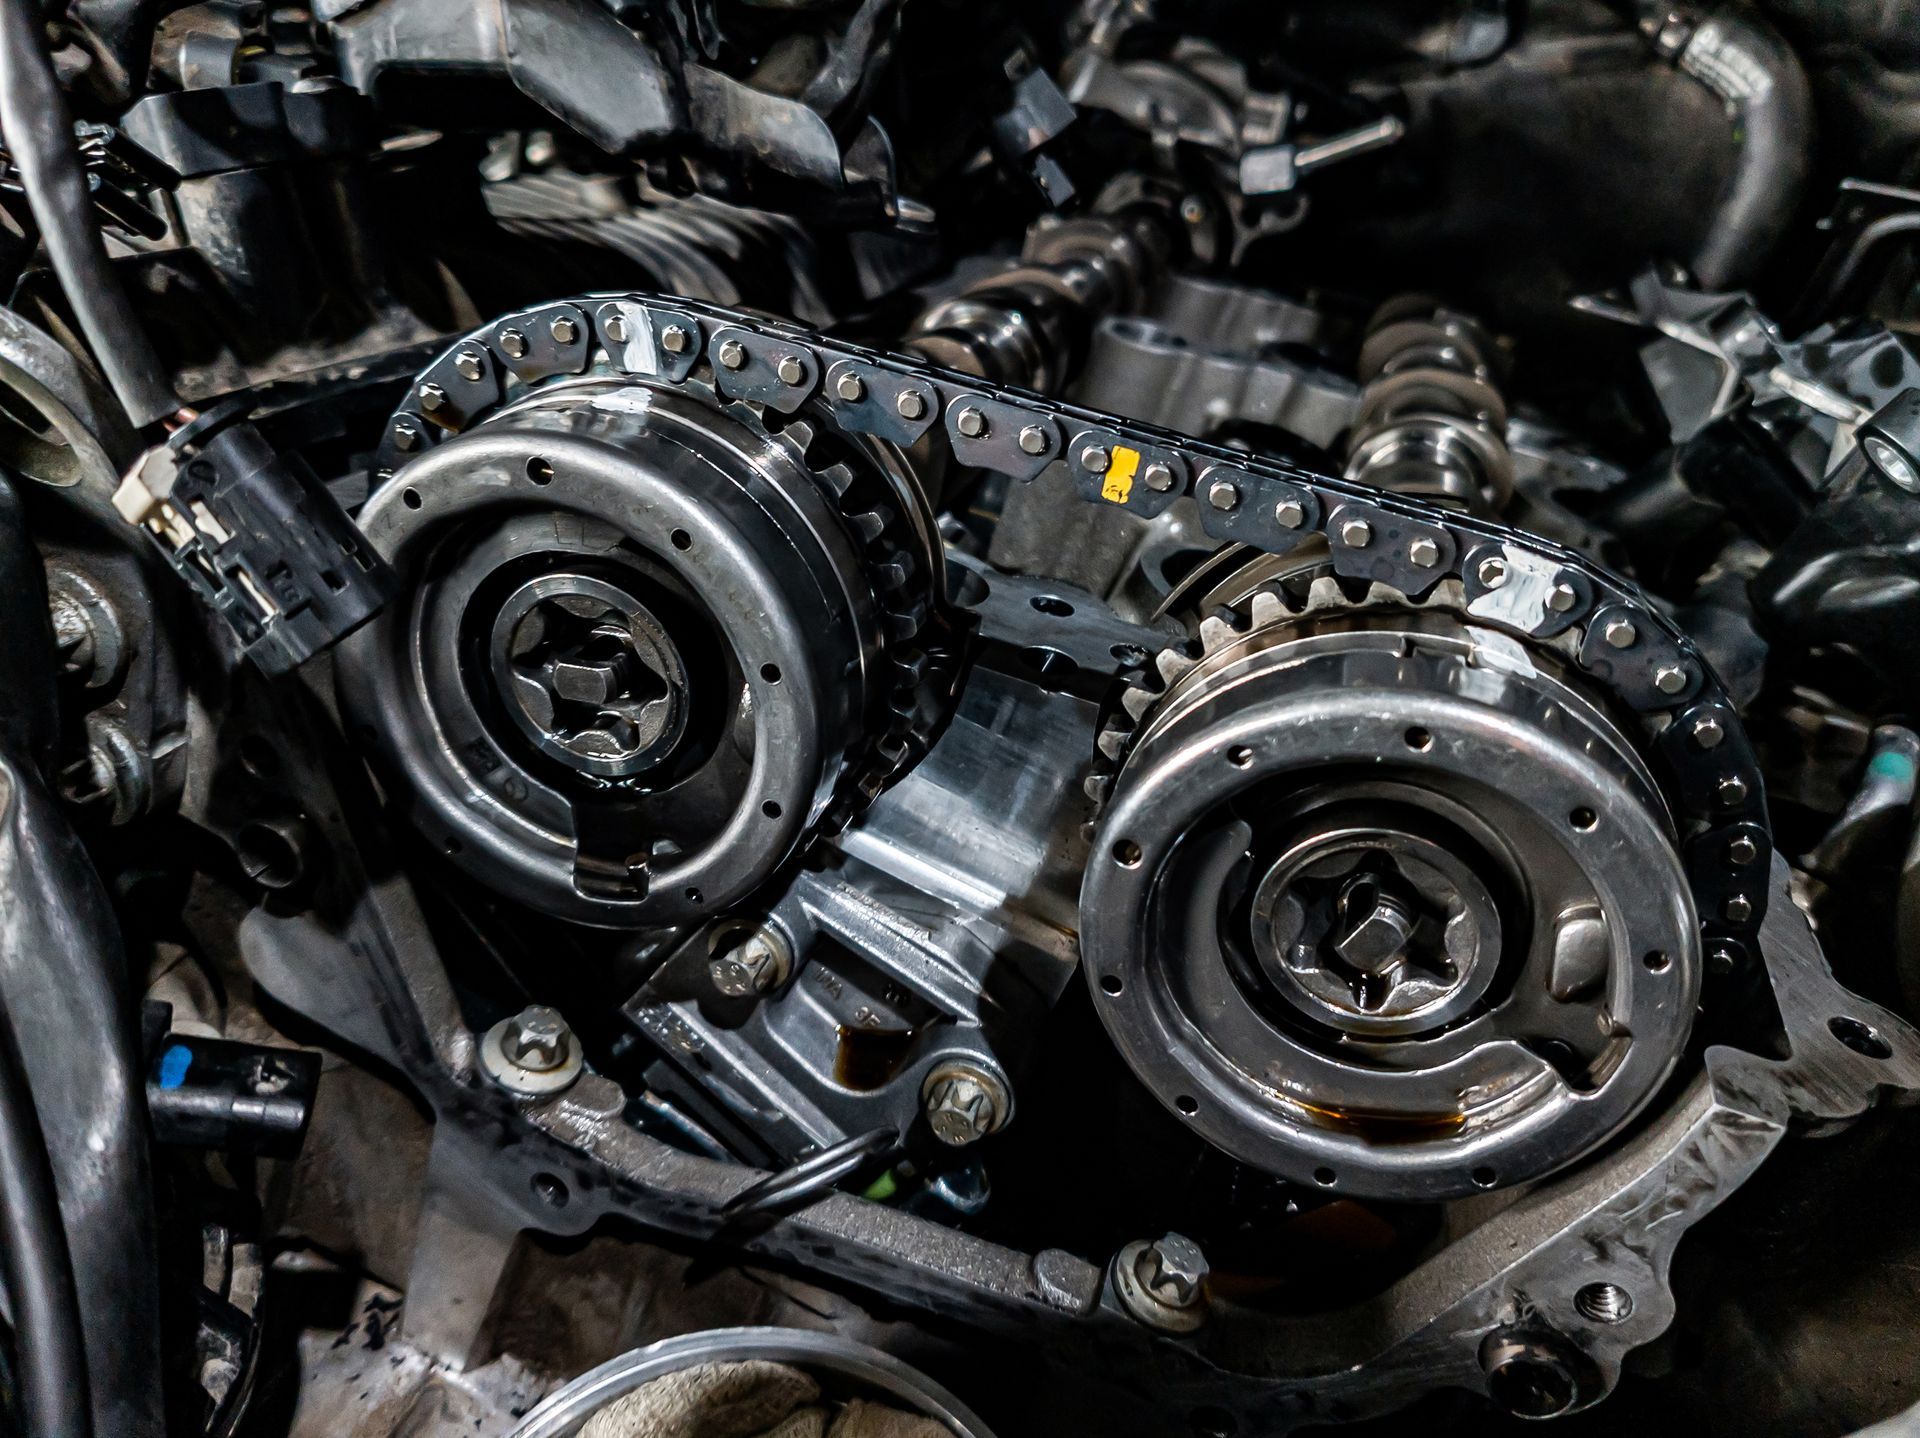
The air filter in your BMW X5 plays a crucial role in maintaining the performance and efficiency of your engine. It prevents dust, dirt, and other debris from entering the engine, ensuring that it receives a clean supply of air for optimal combustion. Over time, the air filter can become clogged, reducing airflow and negatively impacting your vehicle's performance. Replacing the air filter regularly is a simple yet essential maintenance task that can keep your BMW X5 running at its best.
A clean air filter is vital for the following reasons:
- Improved Engine Performance: A clogged air filter restricts airflow to the engine, causing it to work harder and potentially reducing its efficiency and power output.
- Better Fuel Efficiency: A clean air filter allows for proper air-fuel mixture, which helps the engine burn fuel more efficiently, leading to better gas mileage.
- Extended Engine Life: By preventing contaminants from entering the engine, a clean air filter helps reduce wear and tear, contributing to a longer engine lifespan.
Tools and Materials Needed
Before starting the replacement process, gather the following tools and materials:
New air filter (ensure it is compatible with your BMW X5 model)
Flathead screwdriver or socket wrench
Clean cloth or rag
Protective gloves (optional)
Step-by-Step Guide to Replacing the Air Filter
1. Locate the Air Filter Housing
The air filter housing in the BMW X5 is typically located in the engine bay, on the passenger side. It is a rectangular black box with metal clips or screws securing the lid.
2. Open the Air Filter Housing
Use a flathead screwdriver or socket wrench to remove the screws or unfasten the clips holding the air filter housing lid. Carefully lift the lid to reveal the air filter inside.
3. Remove the Old Air Filter
Gently lift the old air filter out of the housing. Take note of how the filter is positioned to ensure you install the new one correctly. Use a clean cloth to wipe away any dust or debris inside the housing.
4. Inspect the Air Filter Housing
Before installing the new air filter, inspect the housing for any signs of dirt or damage. Ensure that the housing is clean and free from any debris that could contaminate the new filter.
5. Install the New Air Filter
Place the new air filter into the housing, ensuring it fits snugly and is seated properly. The filter should sit flush with the edges of the housing, with no gaps or misalignment.
6. Secure the Air Filter Housing Lid
Carefully replace the air filter housing lid, aligning it with the base. Secure the lid by fastening the screws or clips that you removed earlier. Make sure the lid is tightly sealed to prevent any unfiltered air from entering the engine.
7. Perform a Final Check
After securing the housing lid, perform a final check to ensure everything is properly installed and secure. Start the engine and listen for any unusual noises that might indicate a problem with the installation.
Regular air filter replacement is a simple but crucial part of vehicle maintenance that can
significantly impact your BMW X5's performance and longevity. If you're unsure about replacing the air filter yourself or need professional assistance, visit
The Haus Auto in Sherman Oaks, CA or Santa Monica, CA today. Contact us to schedule an appointment or to learn more about our comprehensive automotive services. Drive safe and breathe easy with a clean air filter!


